

The screenshots come from an iPhone, on the test platform, so your trainings and figures will be
different. The Android app has the same tabs.
Table of contents
- Step 1 — Install the app and log in
- Step 2 — Find your way around
- Step 3 — Read your dashboard
- Step 4 — Open your trainings, exams and certificates
- Step 5 — Join your classrooms
- Step 6 — Browse the Marketplace
- Step 7 — Get help and change your settings
- Good to know
Step 1 — Install the app and log in
1
Install Strived
Get the app from the App Store on an iPhone, or from Google Play on an Android phone. Both
buttons are on the Presentation page.
2
Follow the welcome tour
The first time the app opens, a short tour asks for your language (English, French or Arabic)
and shows what Strived prepares you for.
3
Log in
Fill in your Email and Password, then tap Login. New to Strived? Tap Create an
account. Forgot your password? Tap Forget Password.
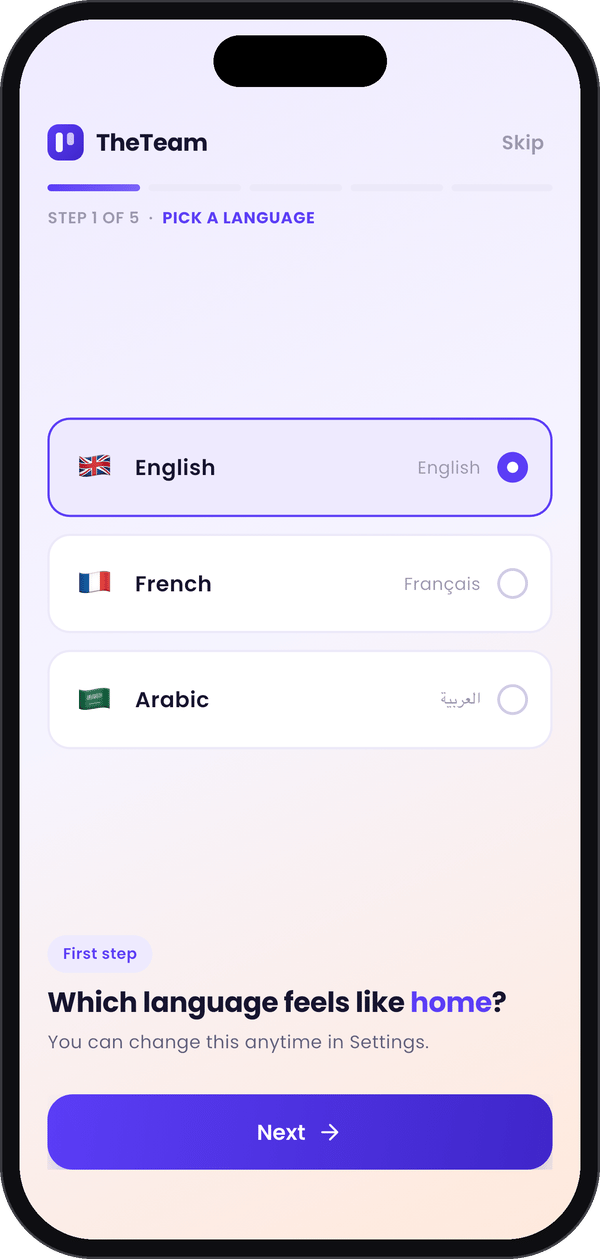
The tour starts with your language.
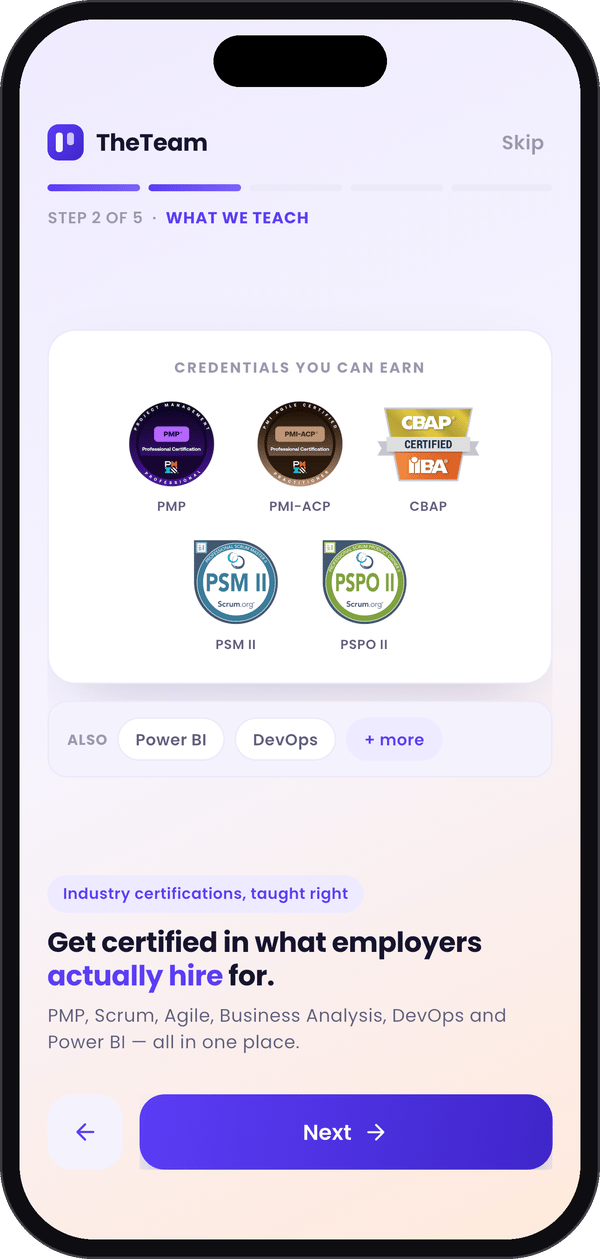
It shows what you can get certified in.
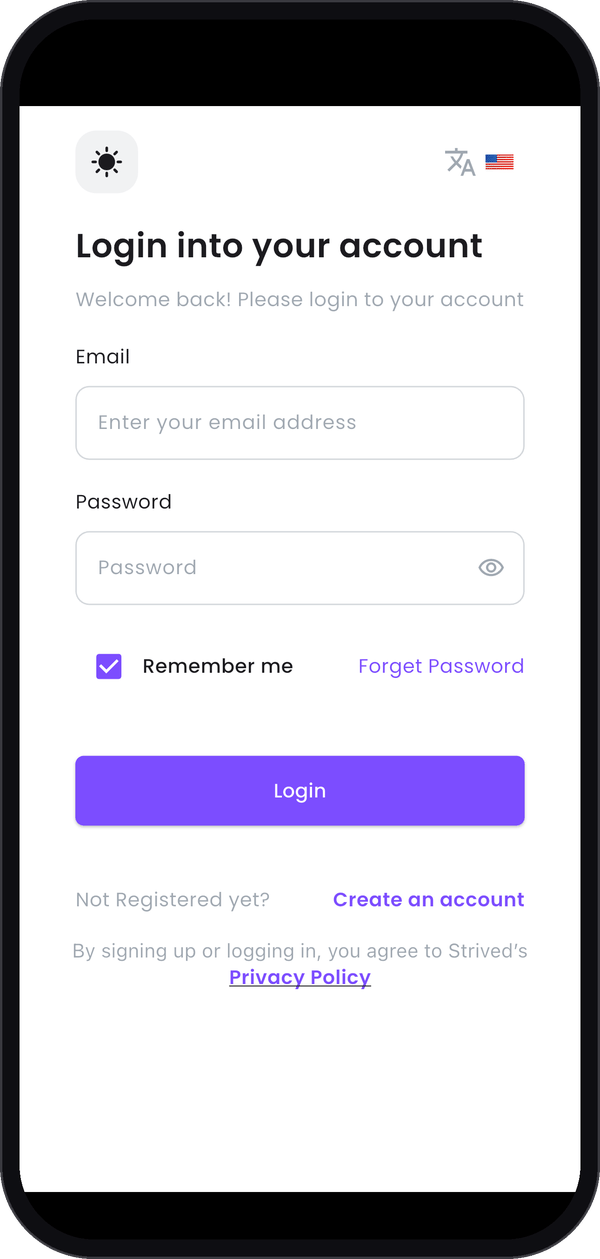
Then you log in.
Step 2 — Find your way around
The bar at the bottom of the screen has five tabs:
The header at the top stays the same on every tab: your avatar opens Settings, the cart icon
opens your Shopping Cart and the bell opens your Notifications.
Step 3 — Read your dashboard
Dashboard is the screen that opens when you log in. From top to bottom:- Apply voucher, on the purple banner, redeems a voucher you received by e-mail. See Use a voucher.
- Four cards give your figures: Trainings in progress, Completed trainings, Certificates earned and Exams passed.
- Continue learning lists your trainings. Resume takes you back where you left off.
- Leaderboard shows your rank and points among the other learners.
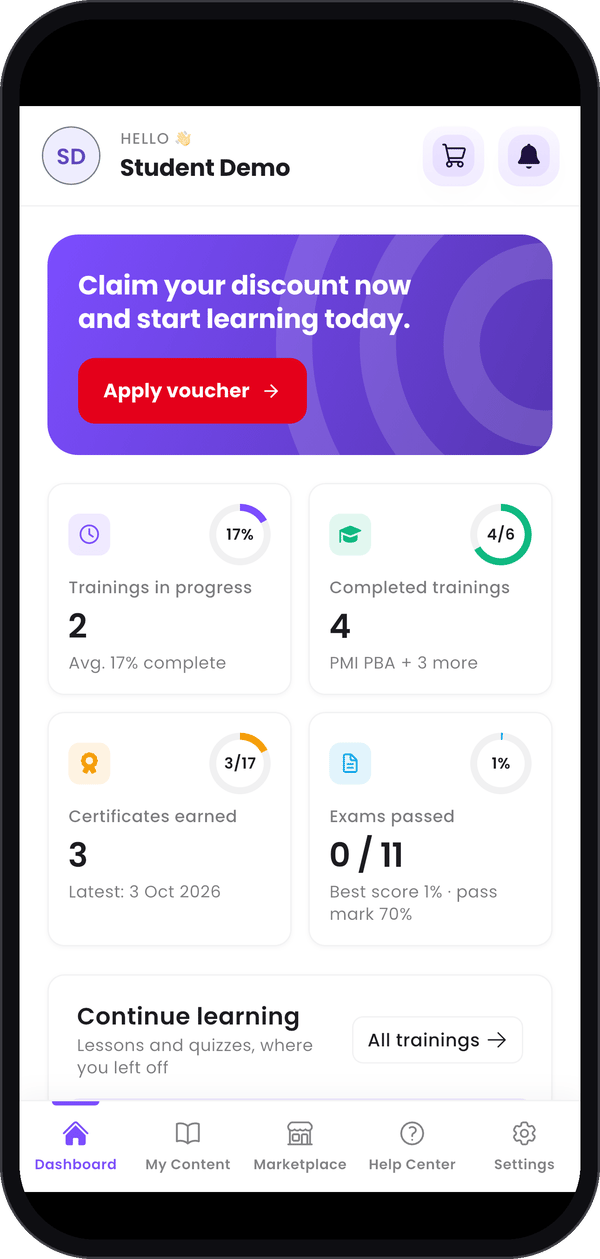
The top of the dashboard.
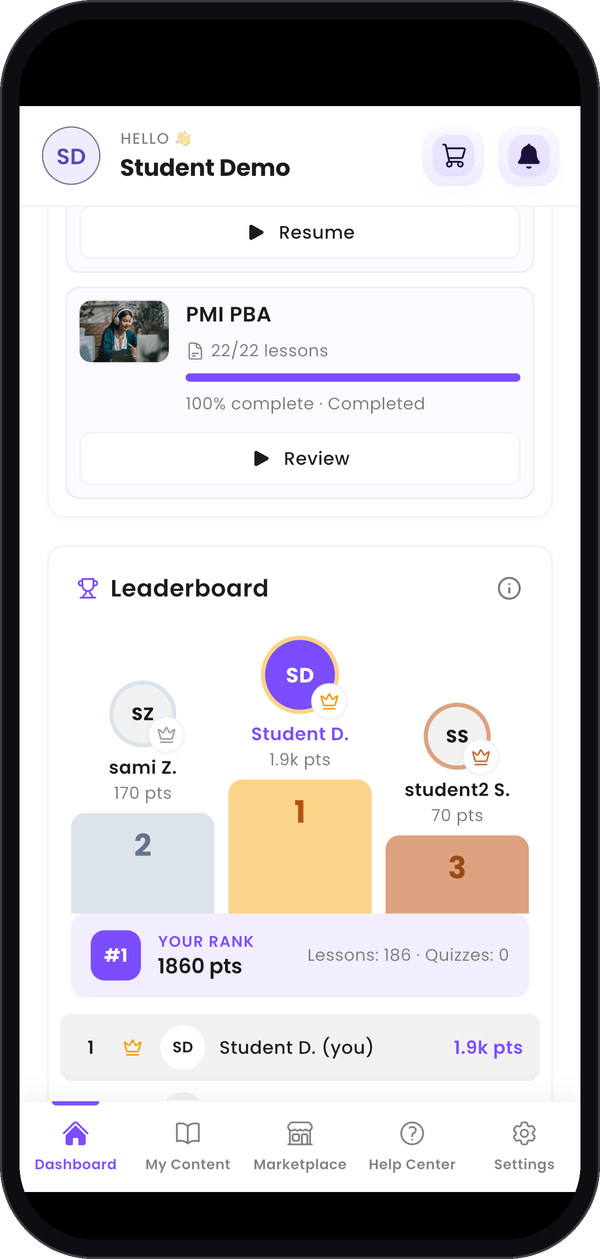
The leaderboard, further down.
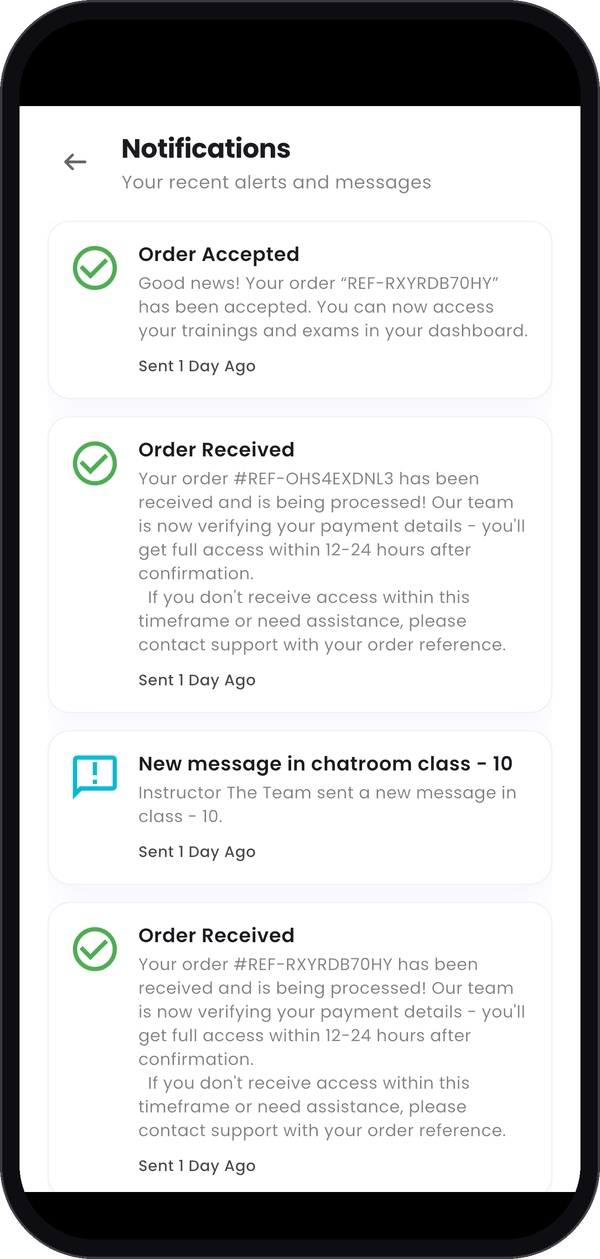
Your notifications.
Step 4 — Open your trainings, exams and certificates
My Content gathers everything you own. Swipe the row of tabs at the top to see them all: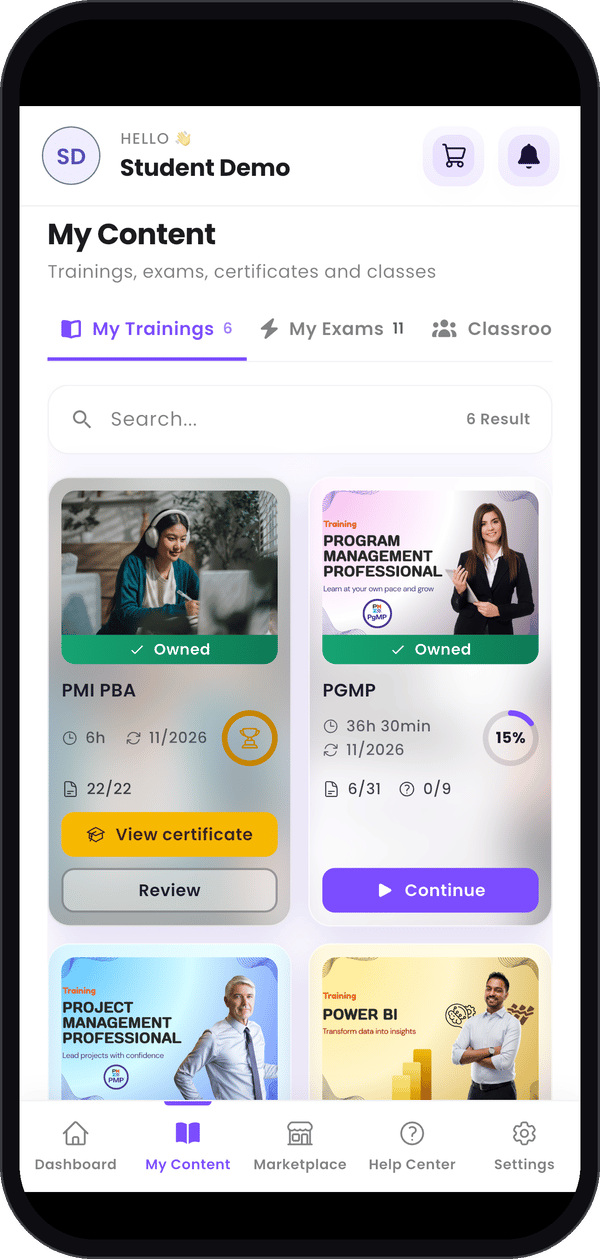
My Trainings.
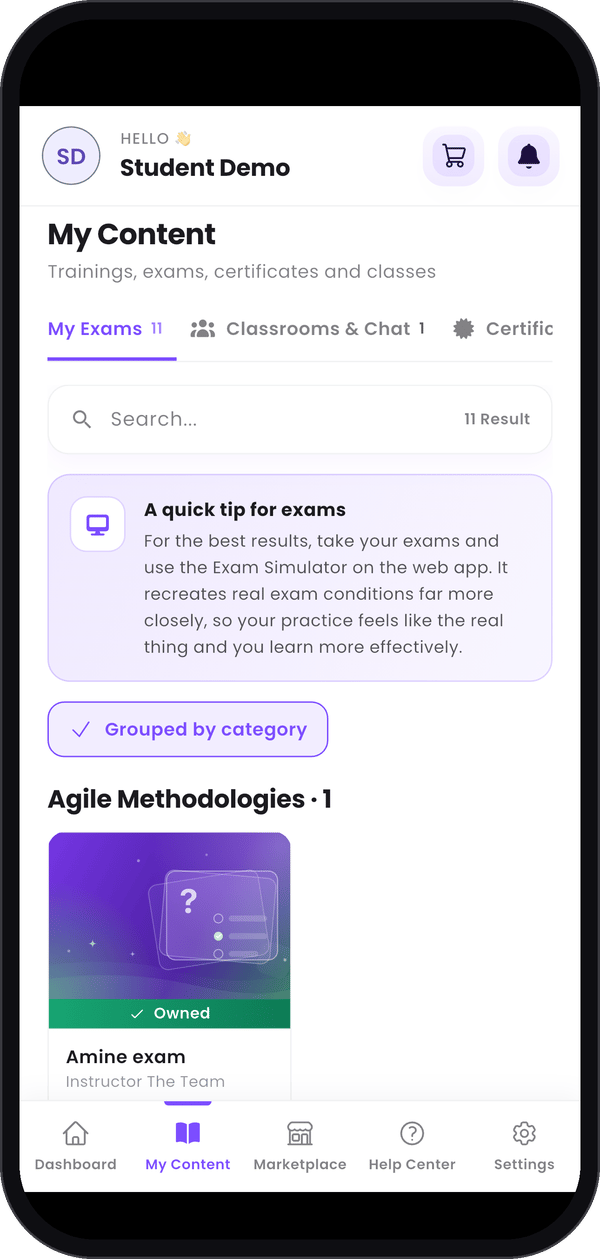
My Exams.
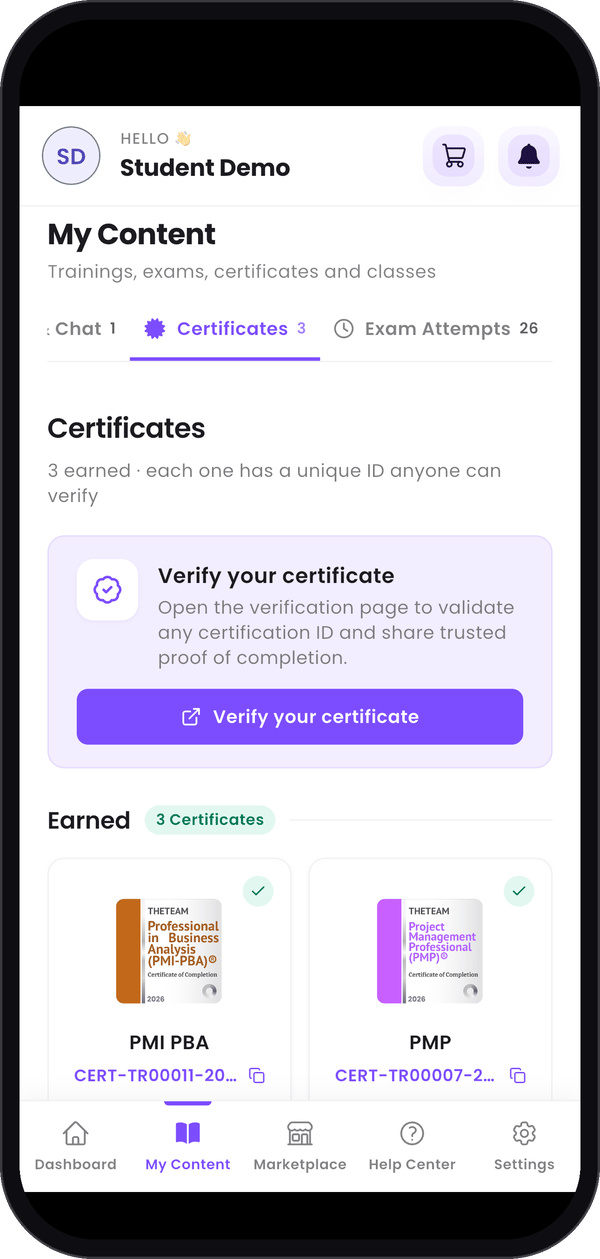
Certificates.
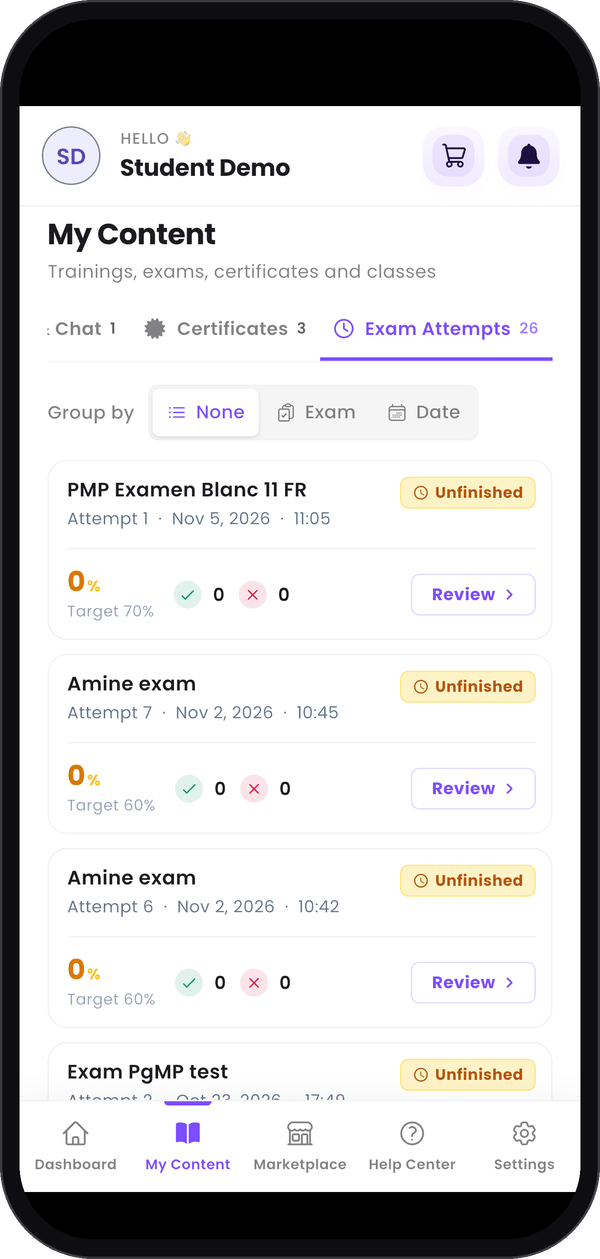
Exam Attempts.
Step 5 — Join your classrooms
In My Content, open the Classrooms & Chat tab. Two buttons switch the view:- Chat lists the chat rooms of your classrooms, with their last message. Tap one to read it and write to your group.
- Classrooms lists your classrooms. Tap one to open its page, with the instructor’s content (live-session link, plan, resources), and Chat room to go to its chat.
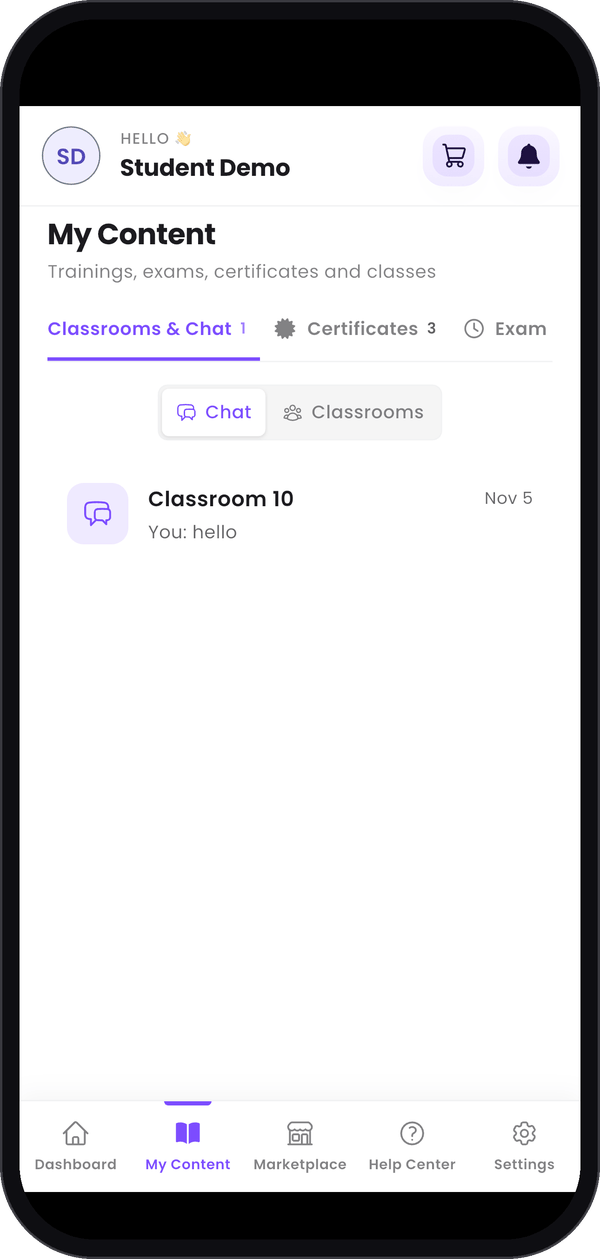
Your chat rooms.
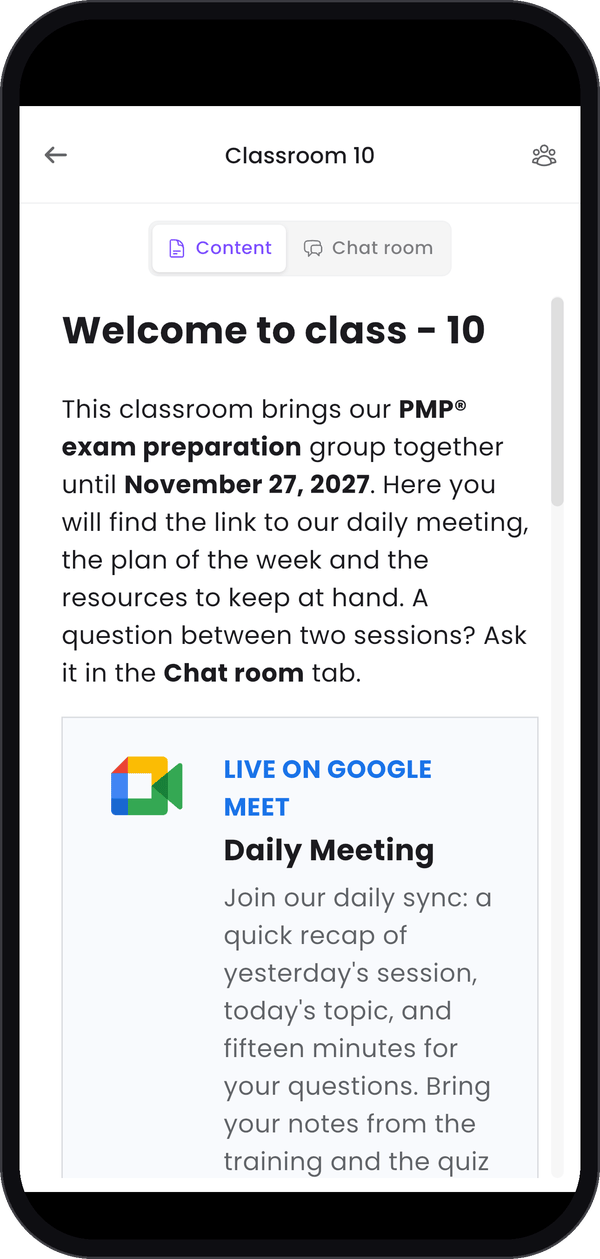
A classroom's page.
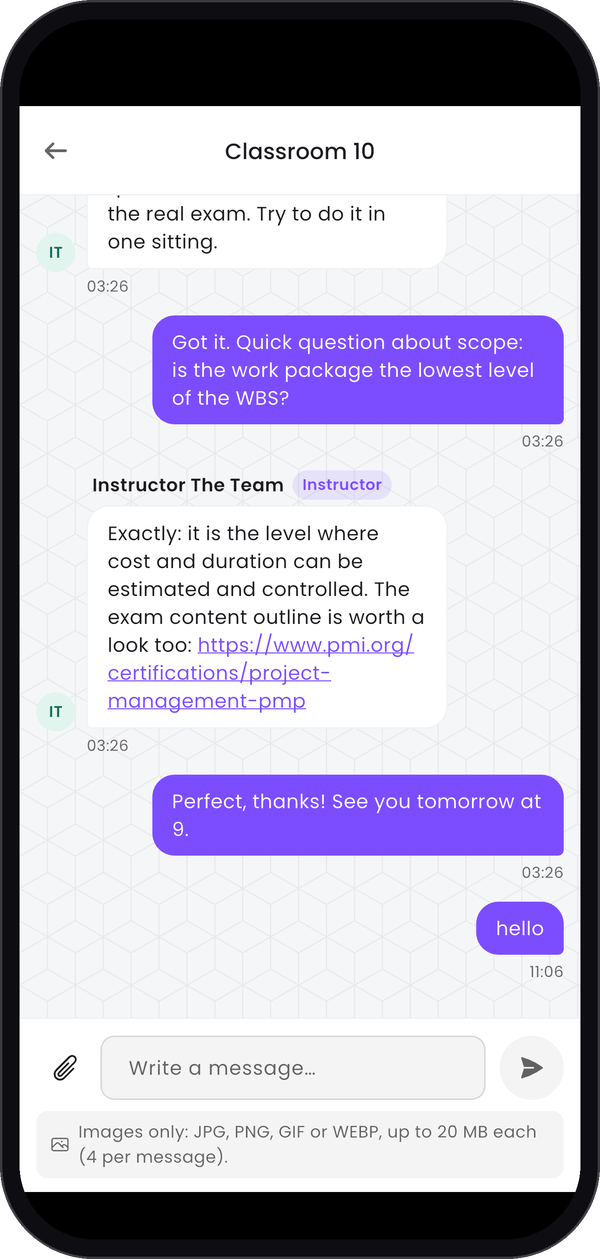
A conversation with your instructor.
Step 6 — Browse the Marketplace
Marketplace has three tabs: Trainings, Exams and Instructors. Use Search… and Filters to narrow the list, then Preview a training or Add to cart. The cart icon in the header opens your Shopping Cart, where Coupon applies a discount code. The order then goes the same way as on the web: see Buy a training or an exam.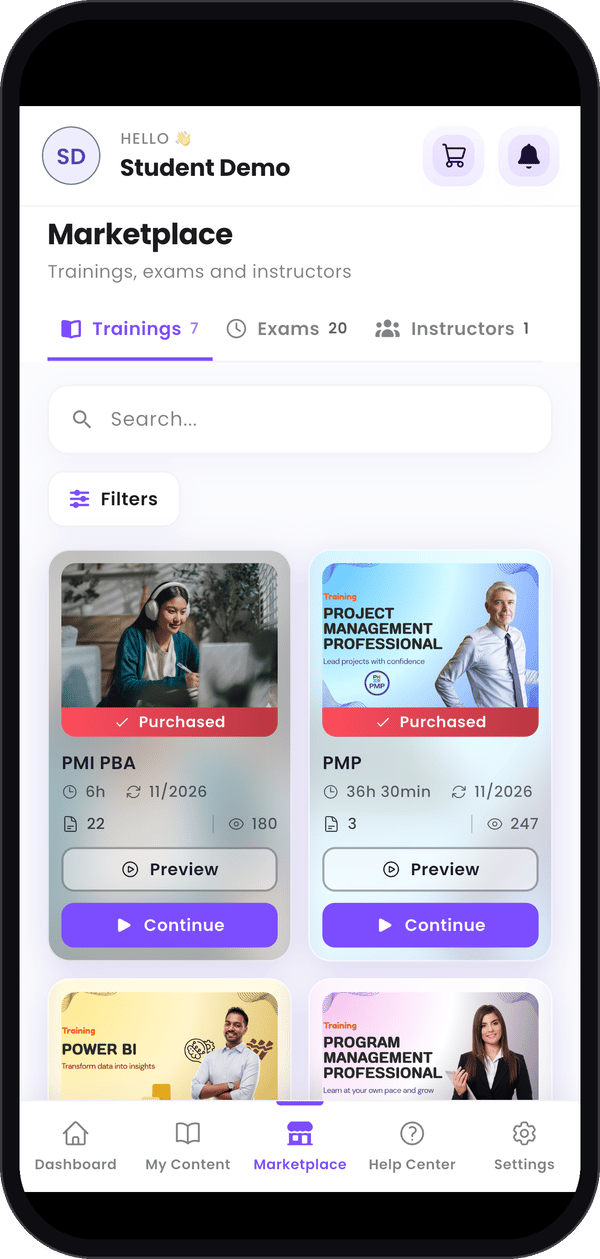
The Marketplace.
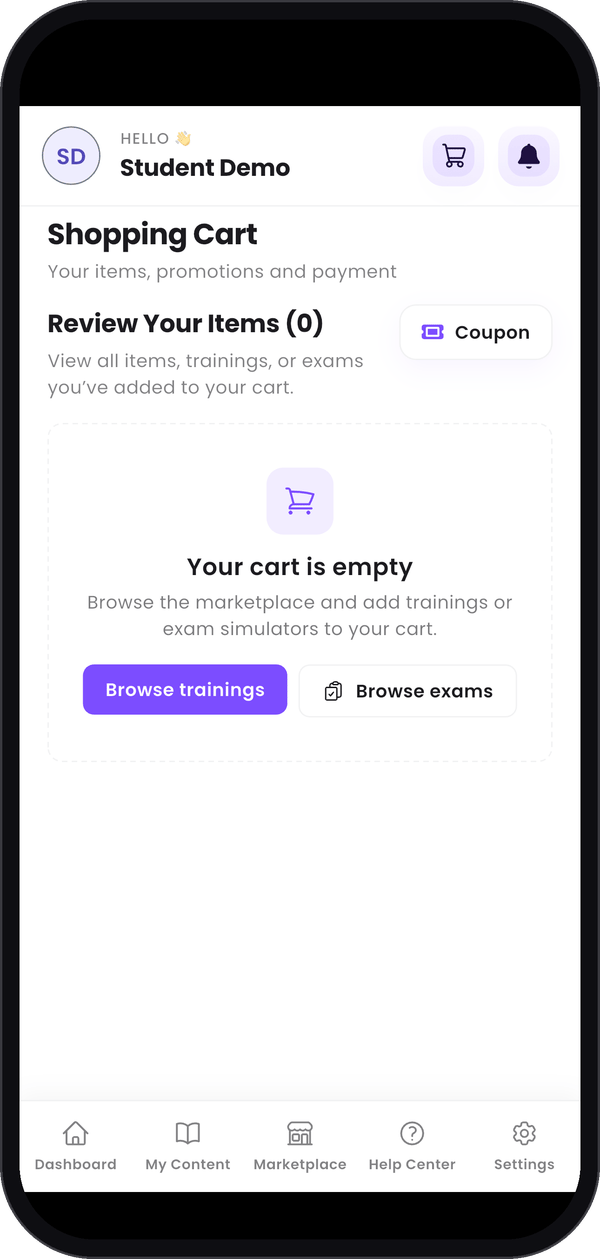
Your Shopping Cart.
Step 7 — Get help and change your settings
Help Center gathers the help guides by topic. Search them, or scroll down to Still stuck? Talk to the service desk for its hours, phone number and e-mail address. Settings holds your account: Edit Profile, Change Password, Setup Two Factor Authentication, Language preferences, Dark Mode and Notifications. Scroll down for Logout. See Manage your account for the details.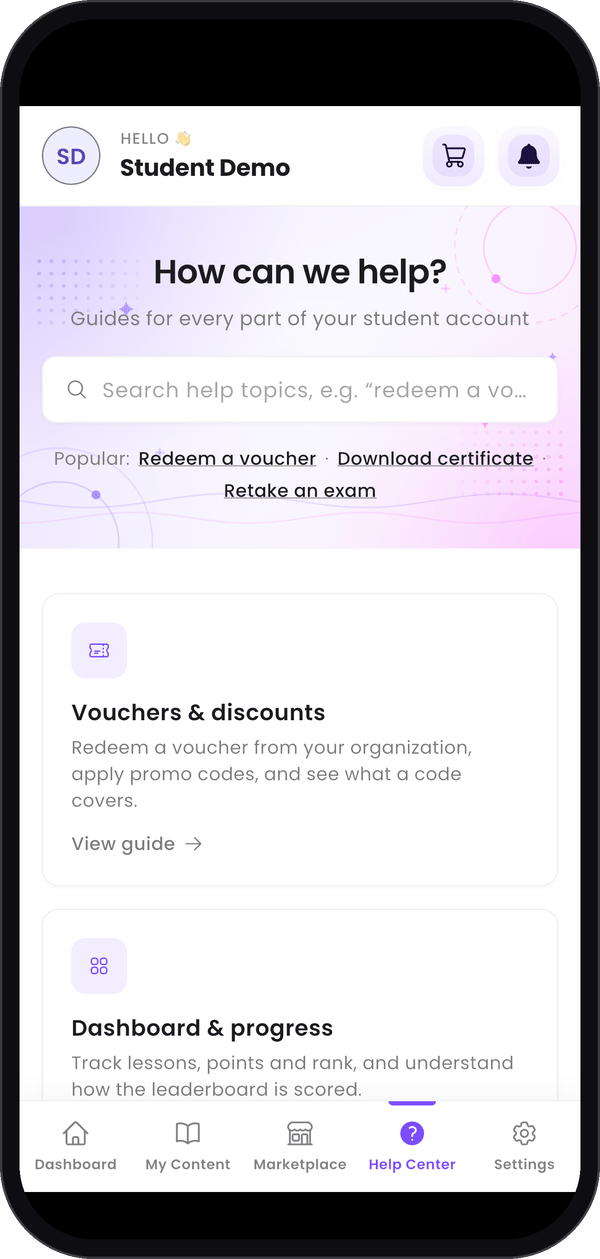
The Help Center.
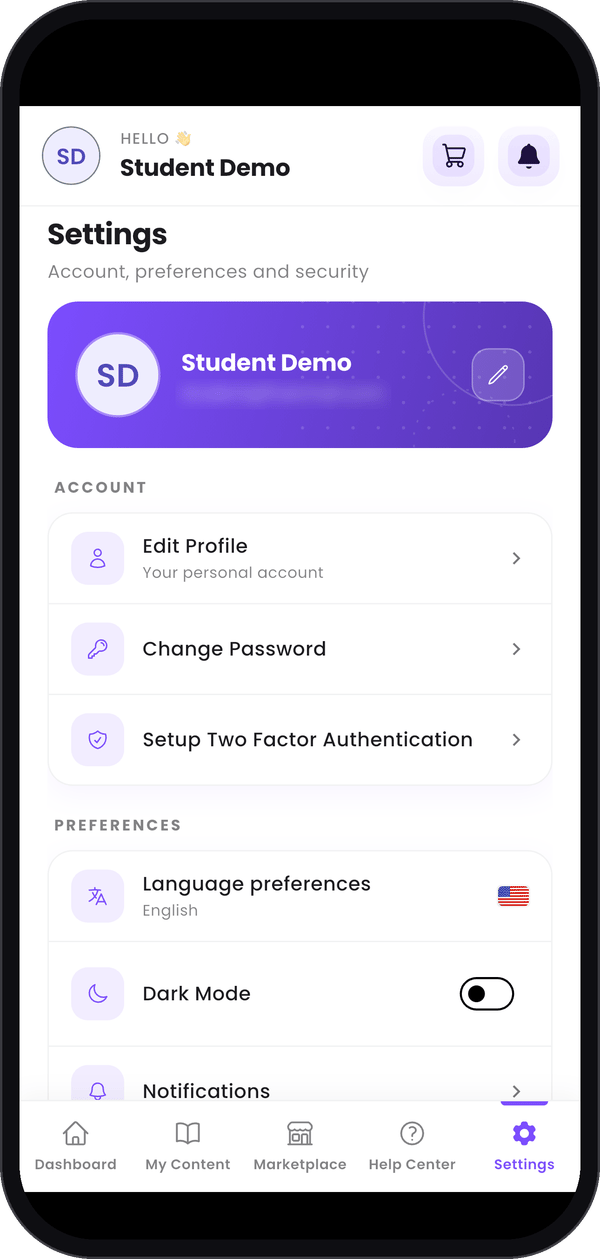
Your settings.
Good to know
Does my progress follow me from the phone to the web?
Does my progress follow me from the phone to the web?
Yes. It is the same account on both, so your lessons, certificates and exam attempts are the
same wherever you log in.
Can I take my exams on the phone?
Can I take my exams on the phone?
The app recommends the web. A quick tip for exams, at the top of My Exams, says why: the
Exam Simulator on the web recreates real exam conditions far more closely.
How do I change the language of the app?
How do I change the language of the app?
In Settings, tap Language preferences.
Do the other guides work on the phone?
Do the other guides work on the phone?
They follow the web app on a computer, so their screenshots look different from the app. Use this
page to find the right tab.