
Everything below is for the web app on a computer, signed in with an Admin account. The
screenshots come from the test platform, so your figures, trainings and users will be different.
Table of contents
- Step 1 — The sidebar and the top bar
- Step 2 — Read the dashboard
- Step 3 — Export the revenue
- Step 4 — Get help
- Controls every list shares
- Good to know
Step 1 — The sidebar and the top bar
After you sign in, the platform opens on the Dashboard. The sidebar on the left leads to every admin tool: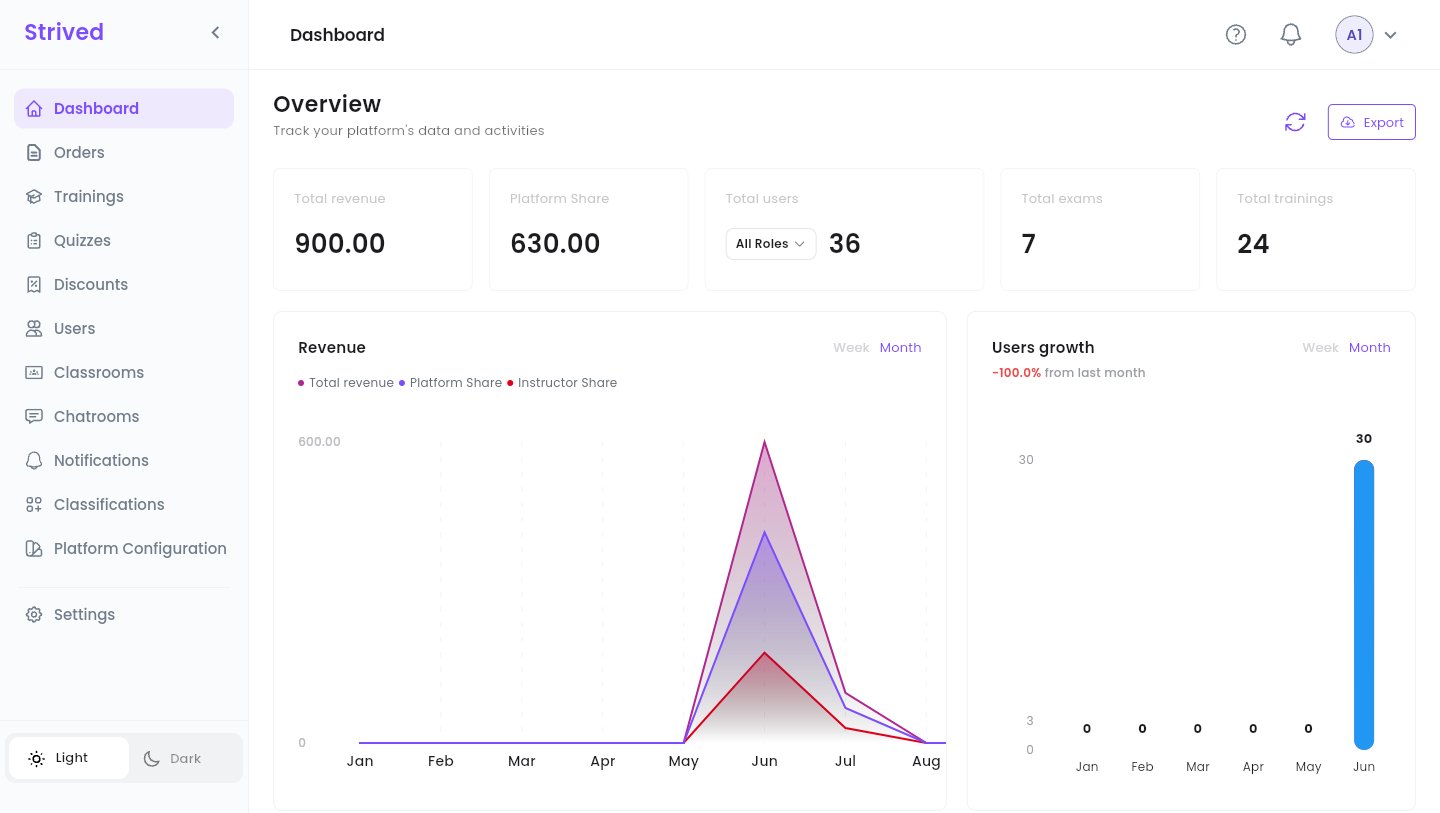
The admin dashboard, with the sidebar on the left.
Platform Configuration and Settings (your own profile, password, language, notifications
and two-factor authentication) are not covered in this guide.
Two more controls sit in the sidebar:
- The arrow next to the Strived logo folds the sidebar down to icons, which leaves more room for wide tables. Click it again to unfold it.
- Light / Dark at the bottom switches the theme.
The top bar
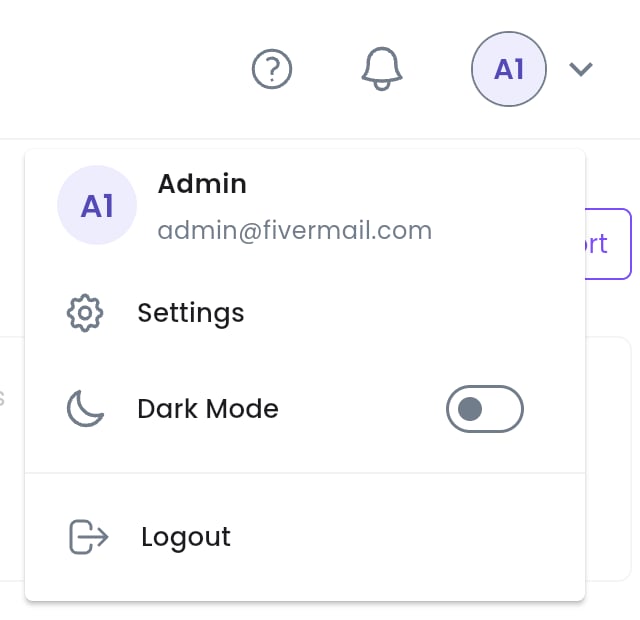
The avatar menu, top right.
Step 2 — Read the dashboard
The Overview sums up the platform at a glance.
The round-arrow button next to Export (Refresh Data) reloads the figures without
reloading the page.
Step 3 — Export the revenue
Click Export at the top right of the dashboard, then pick As PDF or As CSV. The file holds the revenue figures and downloads straight away. CSV opens in Excel or Google Sheets.Step 4 — Get help
Click ? in the top bar.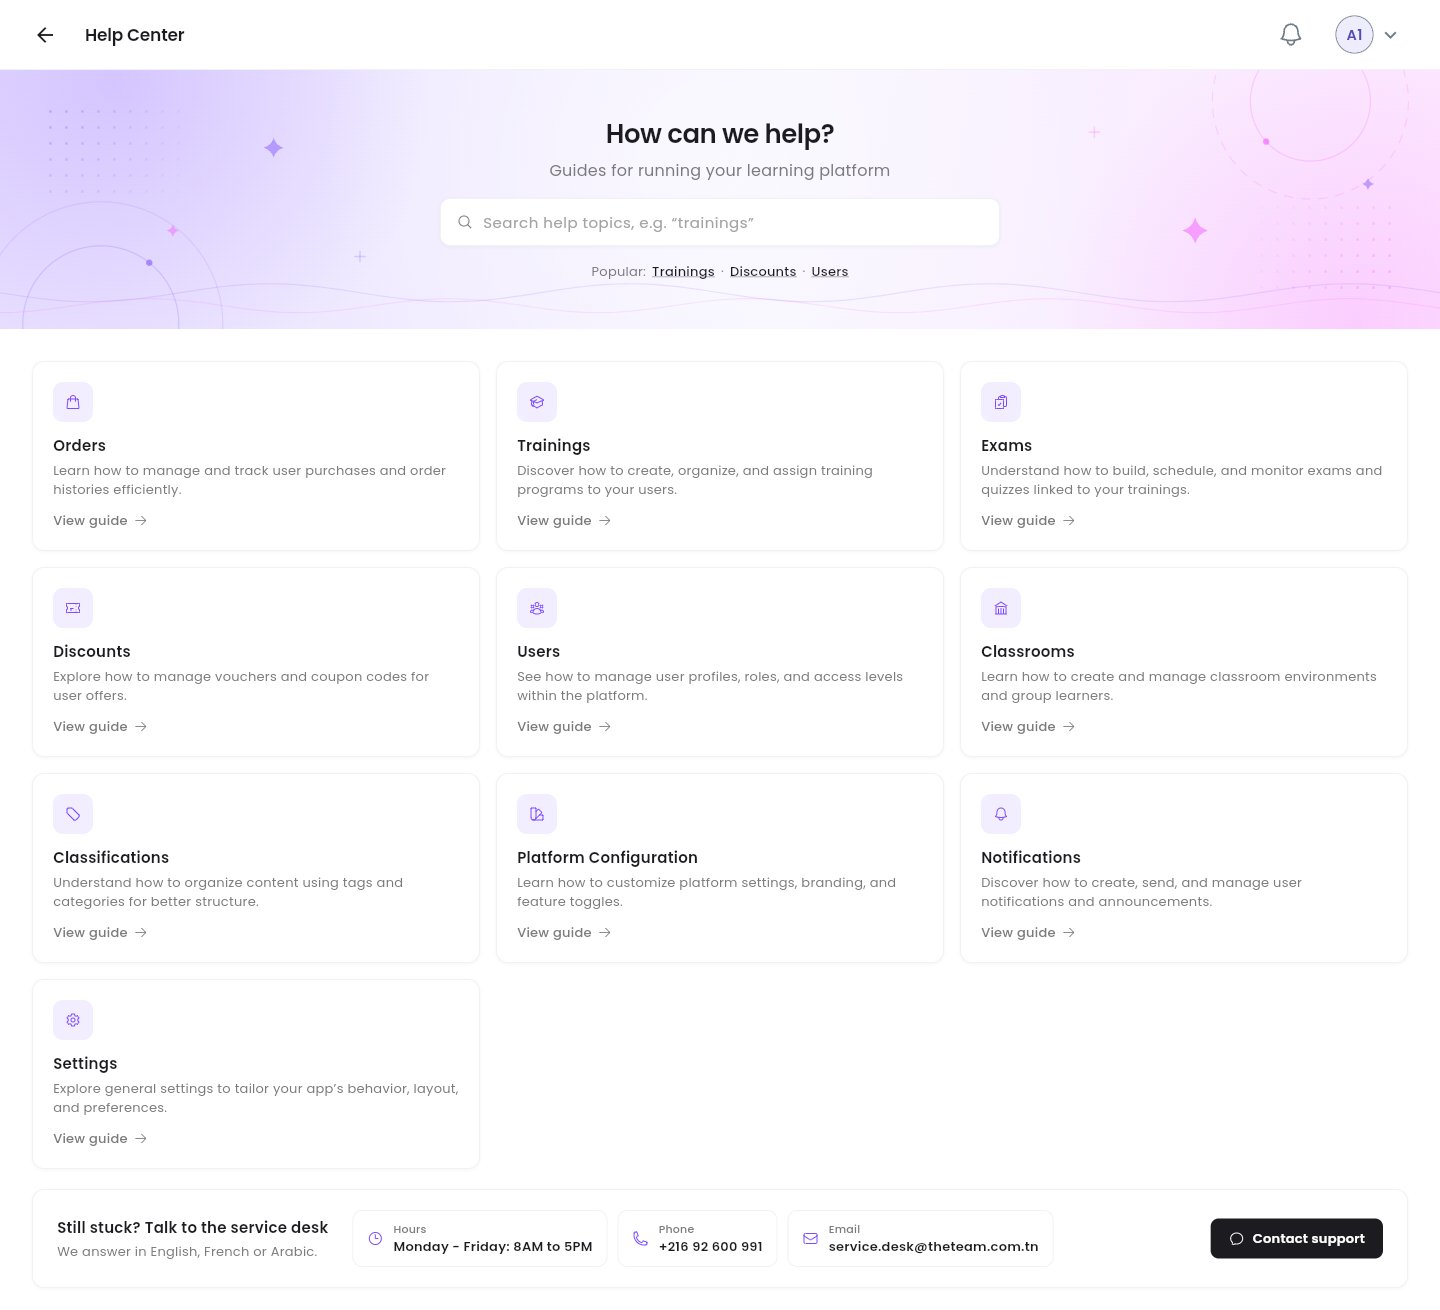
The admin Help Center.
- Search a topic, or use the Popular: shortcuts (Trainings, Discounts, Users).
- Each card covers one admin tool (Orders, Trainings, Exams, Discounts, Users, Classrooms, Classifications, Platform Configuration, Notifications, Settings). View guide opens its video guide.
- Still stuck? Talk to the service desk gives the service desk’s hours, phone number and e-mail. Contact support opens an e-mail ready to send. The service desk answers in English, French or Arabic.
Controls every list shares
Orders, trainings, exams, discounts, users, classrooms and classifications are all shown as tables that work the same way:Archive hides an item without deleting it: it moves to the Archived view, where
Restore brings it back. Archived trainings can also be deleted for good from there.
Good to know
Admin, Content Manager, Instructor: who sees what?
Admin, Content Manager, Instructor: who sees what?
An Admin reaches every tool on this page. A Content Manager works on trainings and
exams. An Instructor writes and teaches their own trainings. You change a user’s role from
Users — see Manage users.
Where do the amounts come from?
Where do the amounts come from?
From the orders marked Paid Offline or Paid Online. A pending or cancelled order does
not count. See Manage orders.
The figures look out of date
The figures look out of date
Click Refresh Data (the round arrow next to Export). The figures load again from the
server.