

Everything below is for the web app on a computer, signed in as a Content Manager.
Table of contents
- Step 1 — Open the classrooms
- Step 2 — Preview a classroom
- Step 3 — Update a classroom
- Good to know
Step 1 — Open the classrooms
Click Classrooms in the sidebar.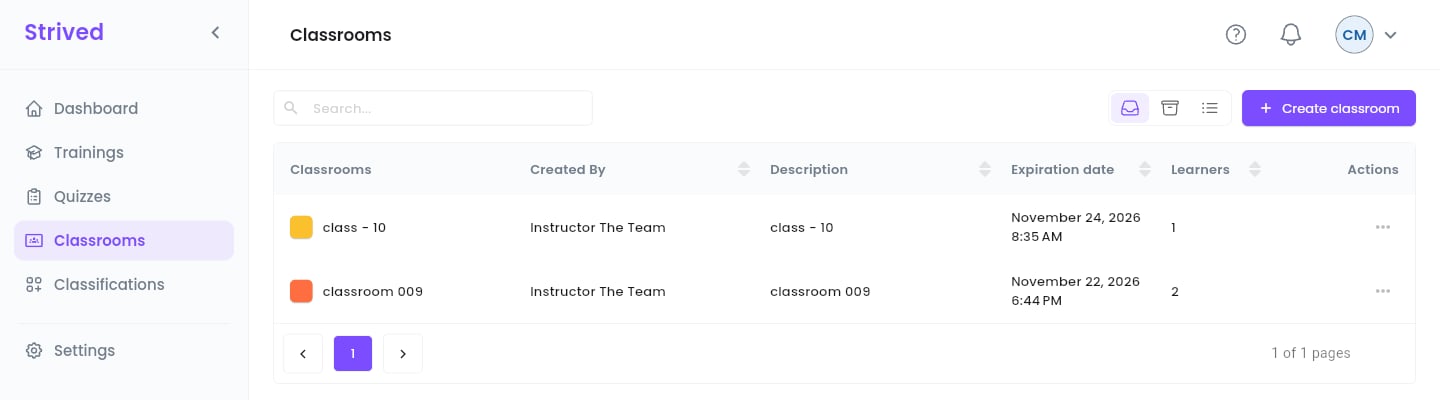
Classrooms.
Step 2 — Preview a classroom
⋯ → Preview opens the classroom as its members see it.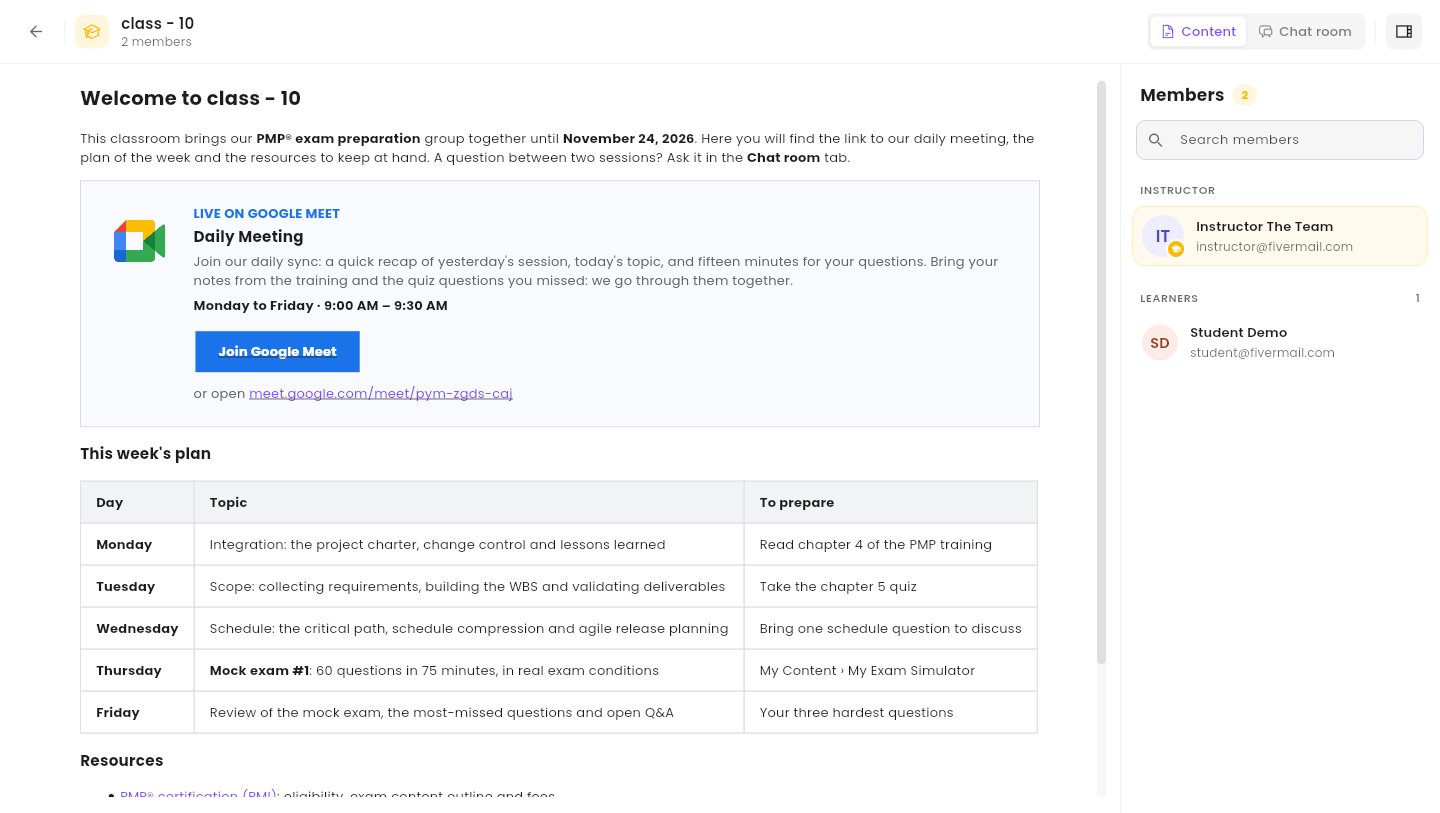
Previewing a classroom.
- Content / Chat room at the top right switch between the content page and the group chat.
- The Members panel lists the Instructor and the Learners, with Search members. The icon at the far top right hides or shows it.
Step 3 — Update a classroom
⋯ → Update opens the classroom editor, with three tabs:
Move between the tabs with Next page / Previous, then click Save on the last one.
Good to know
Can I read or moderate the chatrooms?
Can I read or moderate the chatrooms?
The Chat room view of the preview shows the classroom’s chat. Moderation (stopping learners
from writing, wiping or deleting a chatroom) is done by the instructor or an admin from
Chatrooms.
Can I archive a classroom?
Can I archive a classroom?
No, archiving is reserved to admins.